Wizard Necklaces Cording
These are additional wizard necklaces I made using cording and small handmade lamp work beads. They are casual pieces perfect for every day.
Handmade Wizard Necklaces
The Wizard focal ceramic bead is one of my favorite pieces. I just rec'd my order of 4 more and sat down to create some necklaces. These are 2 of the more elaborate ones. The bottom one is mine. Some pieces are just way hard to part with ... I love the top pink one....the wizard has quite a bit of a dark pink patina so it worked perfect with these pink ice crystal Czech beads. The bottom one is made using handmade lamp work beads that matched the patina on that Wizard. The other two are made using the cording, knotted and I added smaller handmade lamp work beads in a bluish color to match the focal bead.
I really relax and enjoy designing and making one of a kind jewelry items.
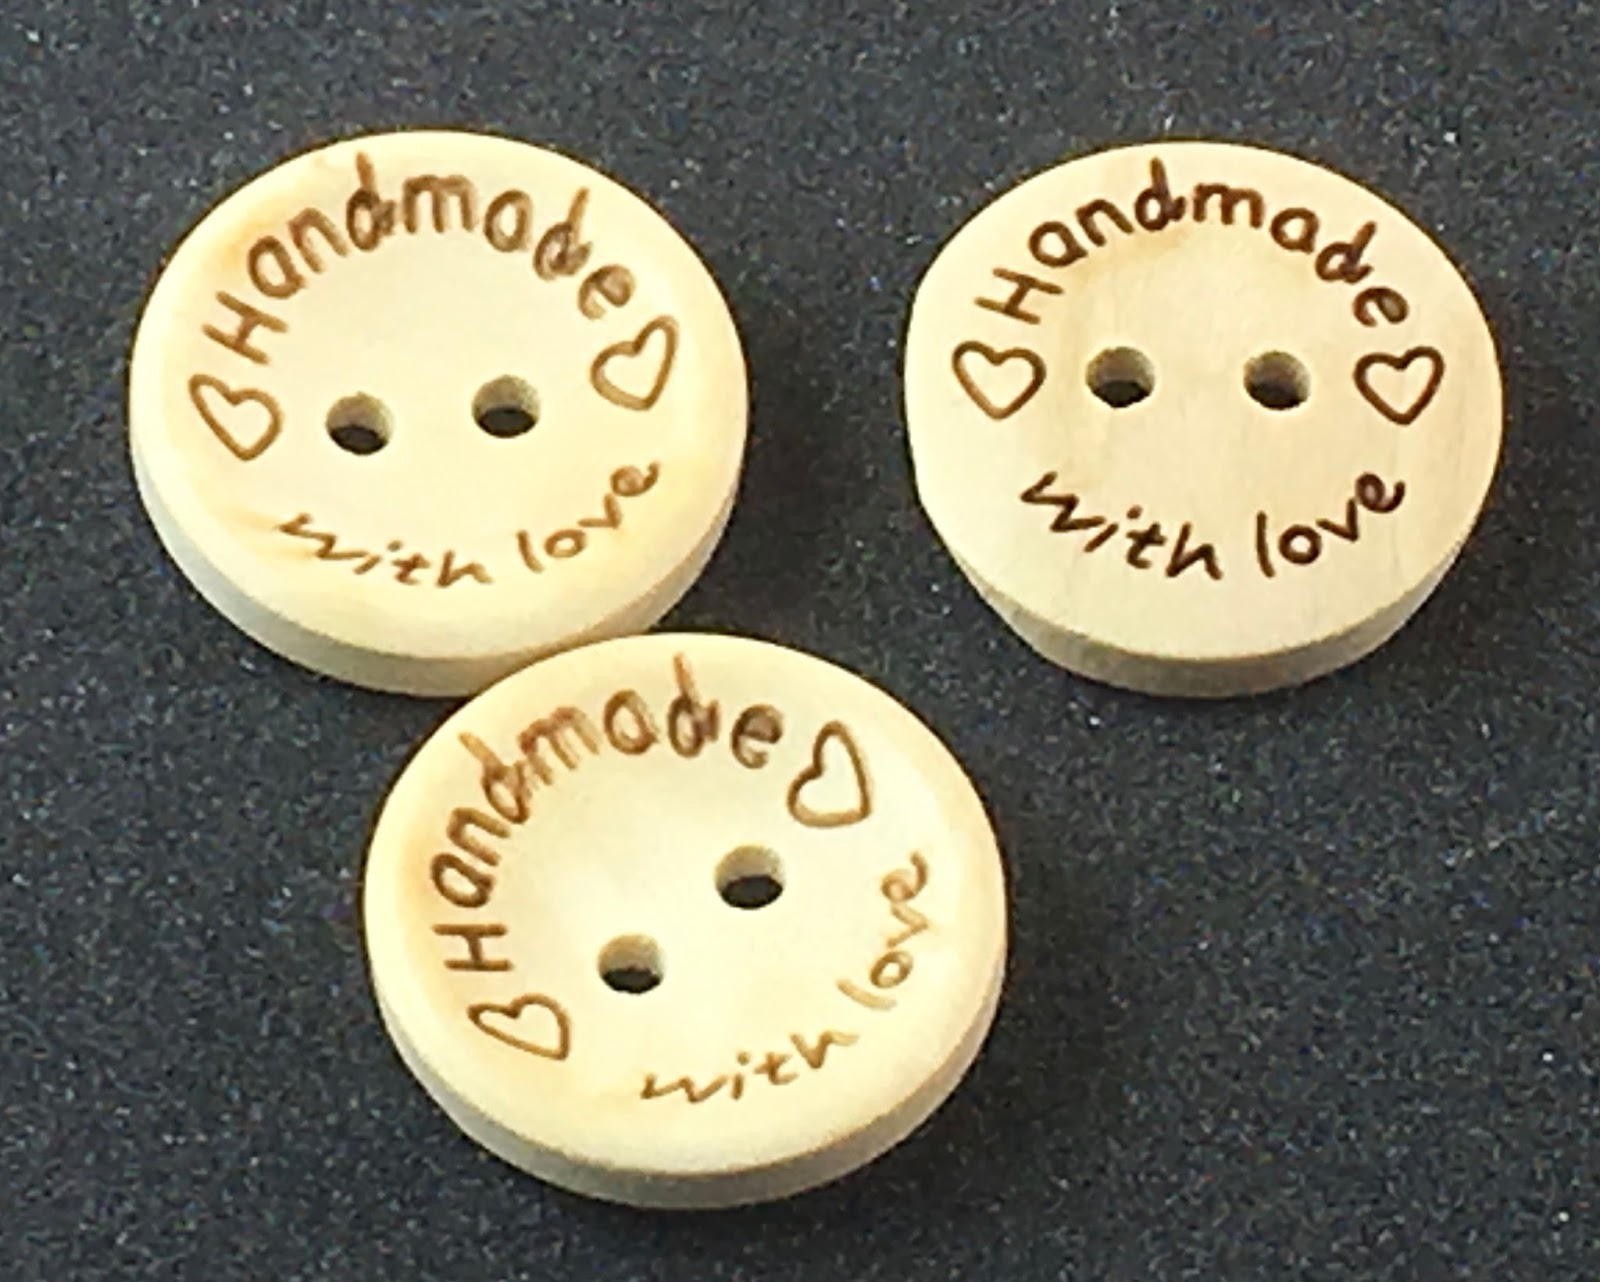
Handmade with Love Button(s)
What a neat little addition to add on to, or with your handmade items that you sell or give as gifts. Just tells everyone that a part of you went into what you have created ...... I sell these on my Etsy site:
www.artisticrenderings.etsy.com in lots of 3....and they come in two different sizes. Approximately 15 and 13 mm ....
Mt. Shasta
This picture does not do justice to the size of Mt. Shasta in California but the different textures was more what I was wanting to capture. All too soon it will be snow covered and absolutely beautiful.
The energy, the smells, the feeling of experience.
POUR #8
IN THE PINK......
With each pour I get closer to what I want.
In my swipe mixtures I am using Elmers Glue, Water, and Paint Mixture with no Silicone. Have made up a Black, White and Beige. Then in the pour colors I will use the Golden GAC 800 medium.... and the silicone.
So far I am using the Treadmill Belt Lubricant but I am wanting to try the Hair serum and see how that works. I have also used Metallic paints a couple of times and need to play with these more to manipulate some webbing....and not add to the pour colors. Maybe by using the spatula in the black swipe where there are no pour colors; dipped into the metallic paint, silicone, pour mixture.??
I am using too much paint so I have to be more observant. Too wasteful.
With each pour I get closer to what I want.
In my swipe mixtures I am using Elmers Glue, Water, and Paint Mixture with no Silicone. Have made up a Black, White and Beige. Then in the pour colors I will use the Golden GAC 800 medium.... and the silicone.
So far I am using the Treadmill Belt Lubricant but I am wanting to try the Hair serum and see how that works. I have also used Metallic paints a couple of times and need to play with these more to manipulate some webbing....and not add to the pour colors. Maybe by using the spatula in the black swipe where there are no pour colors; dipped into the metallic paint, silicone, pour mixture.??
I am using too much paint so I have to be more observant. Too wasteful.
Pour #7
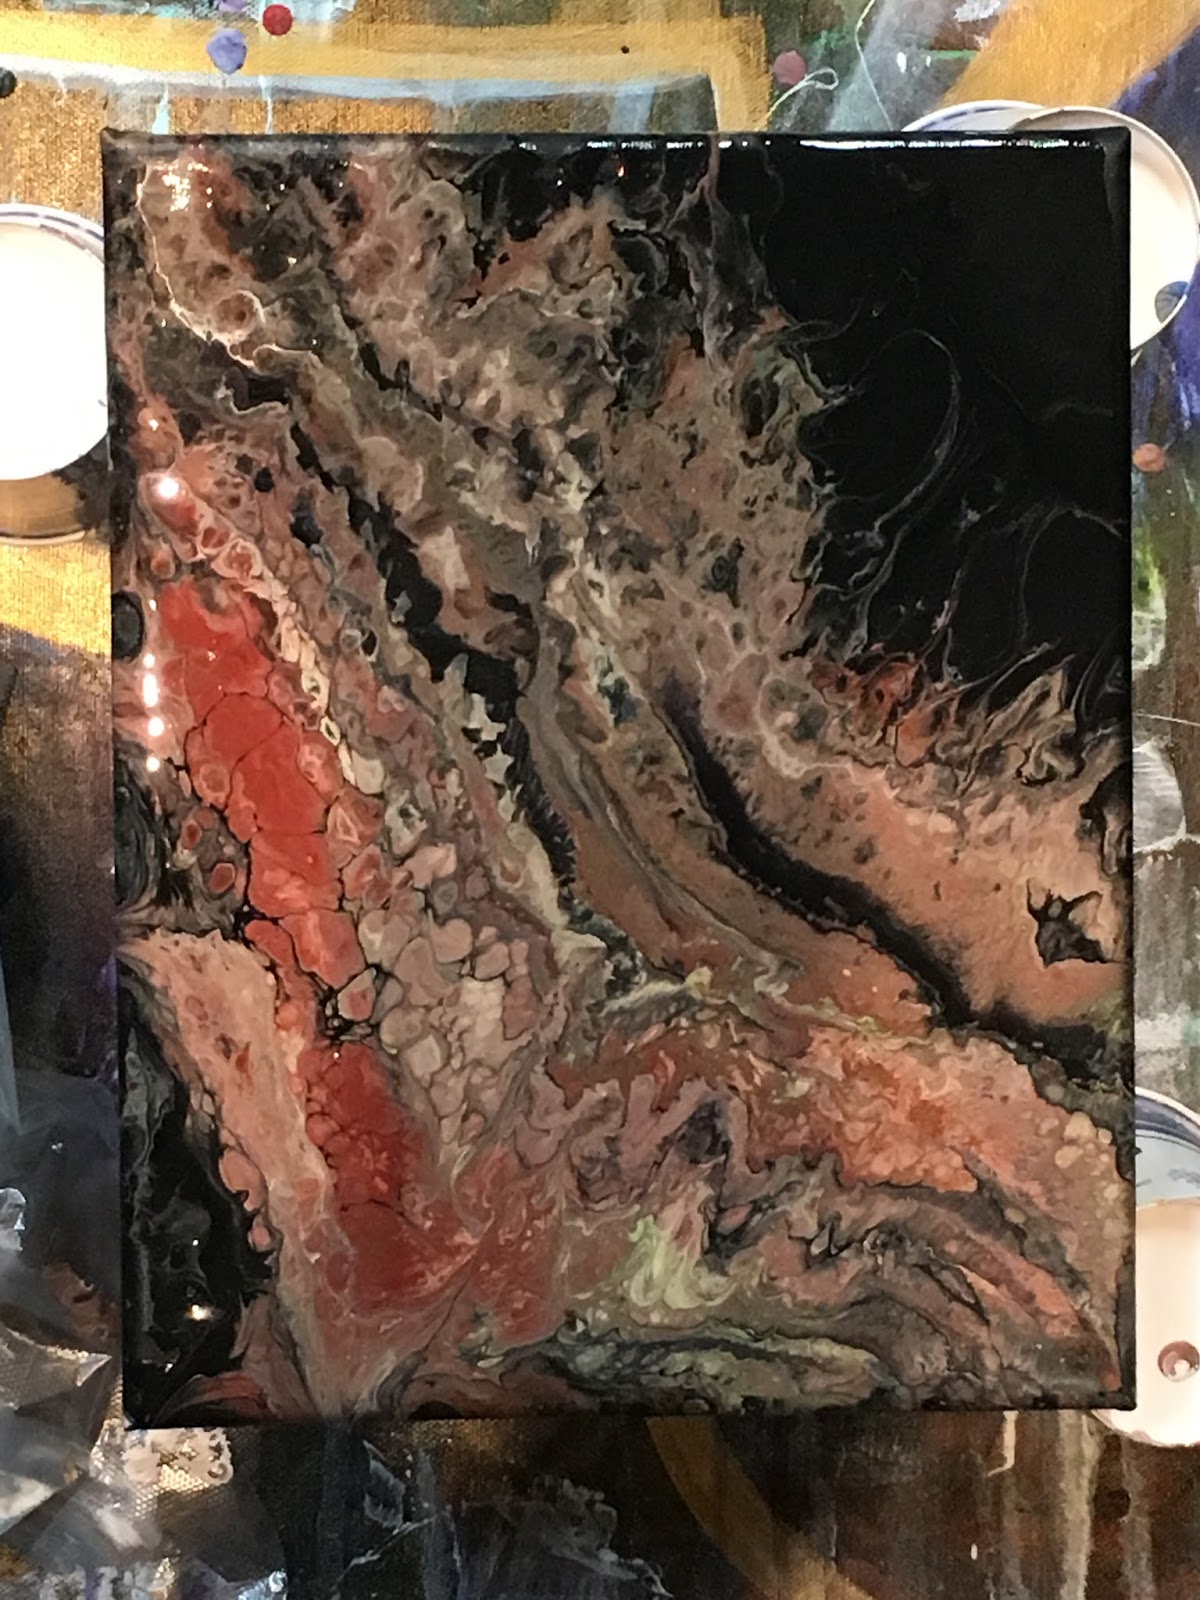
I really like the darker colors .... I also did 2 larger pours with the same mixture and they also turned out really nice but because these were different sizes I decided to show them. The heart is wood and I laid it in my run off and then torched. I didn't get a lot of cells but still pretty. The long skinny one is done on some canvas boards that are handmade with a portrait grade canvas. The webbing and the thing lines are the metallic color that I used...Dazzling Metallics by Americana DecoArt and on the bigger ones I also did dirty pours but I dipped my spatula in the run off and went into the dark area and created more webbings manually.... It is fun manipulating to see what happens rather than just pouring..... I also like the colors being thinner....the canvas pieces dry much sooner and because I am not aiming for gloss I don't need thick color. I think these darker ones will appeal to those who like modern, lean towards black and browns with some neutral colors, industrial chic, and men who want art that is not feminine and colorful but still unique and provoking.
I used 2 blue colors in this pour and they hardly show ... they seemed to get lost ....
Thrive
A friend gave me a picture of this that she found and I decided to paint it on one of the porcelain lidded boxes that I purchased. It worked up quickly and I like the way it finished.
Acrylic paints.....JoSonja Irridescent paints for the feather and Americana for the rest.
I sprayed the lid first with Frosted Glass so I had tooth then finished sprayed with Triple Gloss to bring back the glossy sheen of the porcelain.
Pour #6
FINALLY am getting more that "I" like....both in colors, a little texture that others may try to avoid, and the finished pieces. Believe it or not both are done with the same colors only I did a double swipe of black and beige on the bottom one....which really came out interesting. I was pleased that the colors did not loose their intensity when they were dry and that things pretty much stayed put after the original pour.
Today I got some 12 x 12 Masters Touch canvas panels on sale for 50 percent off ..... love a buy.
I am anxious to try this size and have my fingers crossed that I don't get a buckle in the middle....
Pour Cuff Bracelet
Tonight when I did a pour and liked the colors I decided to grab one of my chunky, wood bangle bracelets and see what would happen.....and I like it. The design is different all the way around the bracelet .... I have it sealed with a semi gloss finish spray which I like much better than gloss .... back to artists' license and personal preference.
Research Photos
When I posted this photo I suddenly realized what a good research photo it is for painting. The clouds, tree line, and clouds, not to mention colors. Also the dimensional look to the painting rather than it being "flat", the laciness of the trees, the faintness of the power lines, the grey in the clouds along with the layers and shapes. Would also make a unique abstract painting. The last painting I did was the first time I had worked and liked the effect of the fore ground and understood how to form rocks, sand, etc. One of those ah ha moments that are fun to experience ..... The mounds of sand that could easily be transferred into rocks. With a little artists license this would / could be a really pretty painting with a lot of learning capabilities. I am sure people look at some of my photos and go "what the heck was she thinking when she took that picture" .... I think artists seem to see things a whole lot differently than others ....
PUZZLED Wood Bracelet and Ring
Tonight I finished my button puzzle wood cuff bracelet and ring set. That's a mouthful.... I think it is really cute but too large for me as I have a tiny wrist and this one I definitely feel is a large bangle . I have to put the ring on a sizer but it also seems big. Have more cuffs, rings and puzzle pieces so I may decide to make a couple more....but somehow different. I thought the puzzle buttons were so cute so purchased them about a year ago not knowing just what I would do with them but knew they were too cute to pass up.
Pour #6
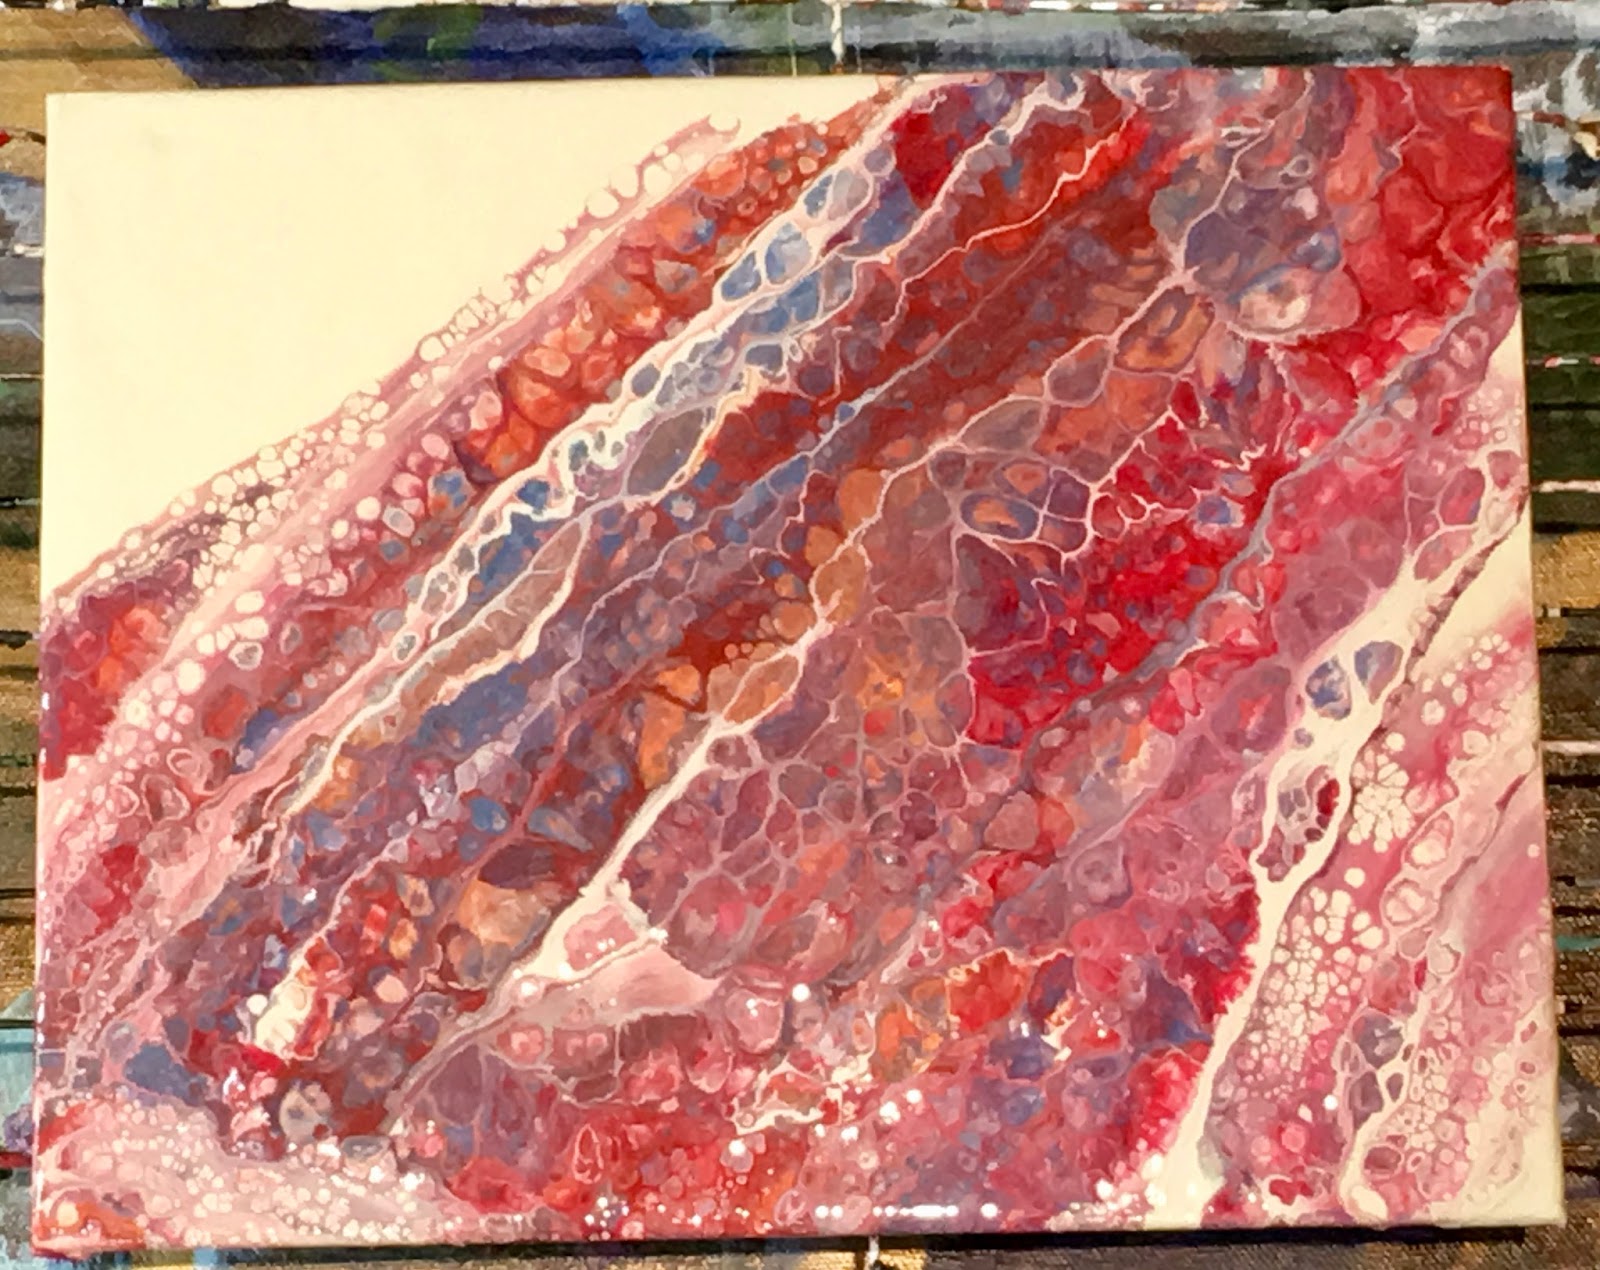
These are my pours for tonight......these are so doggone addicting. I just finally gave up and sectioned off a portion of my studio for pour painting with all the supplies better at my finger tips and all in one area instead of all over..... I used Blue, Orange, Red and a color called Brick which was an orange color and instead of swiping with White I used Buttermilk. (All Americana brand). The cells just exploded....and kept appearing and appearing and changing. Who knows what it will look like in the morning........ The Buttermilk might be a great swipe with different shades of brown and black. I will have to think on that one......Till next time.
Dusk
A woman on Facebook posted a photo and gave permission to artists to paint if they wished. It had a few challenges so I decided I needed to give it a try...and I am pleased. It is stretched canvas on a board, portrait grade with very little grain....which I really like. I used Americana paints on this one because I readily found the colors that I felt were going to work for this... I just finished flyspecking Glamour Dust Ice Crystal on the finished piece after first spraying with a matt sealer....and I am calling it DONE....
Houser House Creations
These are photos I took of my daughter and son in laws most recent show here in Bend, OR.
Craft beer is a big commodity here so this was a beer fest they were invited to participate in.
Most of their items for this event were beer related but they specialize in Harry Potter items and custom signage. My daughter makes some awesome jewelry made from her own handmade lamp work beads as well as jewelry findings to create your own jewelry. Check out their respective stores for quality handmade items.
With the holidays fast approaching unique items are on the top of everyones giving list and there is no better place to shop than their Etsy stores......
www.houserhousecreations.etsy.com
www.dragynsfyre.etsy.com
Pour #5
Flip and drag swipe with black. Tried the colors of a peacock.... not sure if I like these. You think the colors are going to work but some just take over, some turn kinda muddy....we will see what they look like in tomorrows' light. Used: Brown, green, turquoise and blue.
Pour #4.
I decided I wanted to put some darker colors and see how they worked with black (dirty cup, pour and drag) and use the same colors and do a dirty cup, pour and drag with an Ivory. Here are the results. I am mostly pouring and learning...seeing what I like and don't like, consistency I want my paint solutions, which pour medium is my favorite, what colors don't work. My brand of paint favorite, colors that work well together, etc. and keeping my Pour Journal.
I am finding that there is MUCH more involved in Pouring than just choosing colors, and tipping the cup upside down. There are so many different aspects of the artwork...and is really pretty much what the artist pouring likes, wants to achieve. Etc.
In this pour I for all 3 I used: Dark Green, Beige, Metallic Copper, Orange and a Medium Brown.
The top photo I have named: Monarch Symphony
middle photos named: River of Fire
FAVORITES:
Golden GAC is MY favorite pouring medium because I like the fact that the finished piece has a sheen to it.....what I may try when I do these swipes or frostings (as I call them) is mix my Ivory or my Black with the Elmers glue mixture to be a little more conservative $$ wise IF the results are good....and this way I will get both matte and gloss in one piece from the get go....
Americana Paints are my favorite paints. They are the closest to the consistency I am looking for without a lot of extra work. Folk Art is too thick, and Delta is too thin, Liquitex is too thick but Americana is JUST RIGHT.
Treadmill Lubricant still remains my favorite silicone addition.
I like the canvas boards but only up to 8" x 10". Any larger and they seem to buckle in the middle instead of lay flat. My favorite canvas pieces are the ones that I purchase at Hobby Lobby and are no more or less than any other local art store so as long as they work the best for me I watch my coupons and buy on sale.... My favorite stretched canvas on frame size is 11" x 12" or 12" x 12". These 3 surfaces and sizes are MY favorites.
I have two different sized lids that I paint in and I am looking to get another of the larger ones. I save my "pour overs" so I have skins and there are times both lids are drying before I can peel off so I will be scouring our local thrift stores for a "deal"......
My Ivory and Black Pouring Colors are premixed in the large squirt bottles (like Ketsup and Mustard are found in) and I purchase them by the 6 pack at our local restaurant store. Best price I have found.
These are premixed with the pour medium, then labeled. I will do other colors this way as I find favorites.
I like my "frosting mixture" to be thinner in consistency than my pouring colors....again preference.
And I have found that my preference is less paint vs too much paint... and by sticking to the same size canvas proportions are going to be easier for me to learn and I will have less waste. I love that I can even use the run off as a Skin.
Stay Tuned for More information.
Pour #3
I am hoping that this one doesn't do any more running tonight and stays pretty much as you are seeing it now. I used a light green, light aqua, buttermilk and gold in this one..... Pleased and allows me to have the freedom to play when I swipe.... Black was my base. Maybe next I will try darker colors and a buttermilk swipe.... I am afraid I'm "hooked".
Pour Skin
This is a "skin" that I peeled from the lid I did my pour in, after it dried. I will use this for mixed
media to obtain texture or work into the design somehow and/or for jewelry .... Love this one.
POURING SUPPLIES
Pouring is a lot of fun....so I thought for those who are interested in learning a list of supplies
(based solely on what I use and like) might be helpful.
1. Rags
2. Paper Towels
3. Baking racks 2 .... (I got mine at the Dollar Tree)
4. Disposable Rubber Gloves (Can buy by the box at Harbor Freight and/or Costco)
5. Popsicle Sticks (or something for stirring your paint)
6. Different size plastic or paper cups. (I purchase mine at Cash and Carry
Restaurant Supply Store and I prefer the clear acrylic cups so I can see inside for
easier measuring and can see what is happening inside to the colors when I layer
them.)
7. Heavy Duty Drop Cloth (Hardware store, Walmart, etc.)
8. A couple of plastic straws (for blowing paint)
9. Cake Frosting Spatula (for frosting canvas/swiping) (I got mine at Dollar Tree)
10. Old Credit cards " " "
11. Small bottle for water.
12. Canvas Surface (I like 12" x 12") Just a nice size for learning. But choose your
own size.
13. A couple of storage container plastic lids. (I have a large and a medium size) to
pour in..
14. Pouring Medium:
GAC 800 (Golden Brand) Amazon or Floetrol (available in hardware stores) Elmers Glue and water 50/50, or Liquitex Pouring Medium (My 2 favorites are the Elmers Glue and water and the GAC). Liquitex is expensive and hard to find....and Floetrol can be clumpy/lumpy. You can use different pour mediums in different colors if you choose to...they will mix OK.
15. Black Acrylic Paint (I prefer Americana, because of its consistency) but any brand
of acrylic paint will work. I buy my Black in the large bottle because I use a lot of
black. And small bottles of acrylic paint of your color choices/favorites.
16. Silicone
Treadmill Lubricant (I purchase mine from Amazon) and is my choice or any
brand of hair serum that contains the ingredient diamethicone (which is the
scientific name for silicone.
17. Eyedropper for measuring out Silicone
18. Push pins (to make legs when pouring on wood framed canvas...one in each
corner.
19. Small Butane Torch and a High Efficiency Butane High efficiency will result in
longer lasting torch ... less expensive butane will clog your torch. You can
purchase a torch at Harbor Freight, or I sell them on my website at:
www.artisticrenderings.etsy.com OR a chefs butane torch will also "work".
CLEANING SOLUTION RECIPE:
I keep a wide mouth jar of "cleaning mixture" beside my sink with one of my soft bristled brushes to clean my hands. I just stick my hand(s) in and use the brush to
scrub "me" clean.
1/4 Proportion of Murphys Oil Soap
1/4 Proportion of Rubbing Alcohol
1/2 Proportion of Water
Depending on how often it is used determines "new batch". I normally keep mine a couple of weeks and add to it if I need.
**This is also the cleaning mixture that I use for cleaning my brushes when I paint.
Soft bristled brush is available on www.artisticrenderings.etsy.com
***** The photo at the beginning of this is a small framed canvas board that I laid in pour run off, laid a rubber stamp in, left until it was dried, and then dry brushed black acrylic paint lightly over the top to bring out the design.
Thrift Store Find
I scored big time on 2 of these at a local thrift store.....brand new. They measure 9" in diameter but only about an inch deep. Lidded box. I am pretty sure a landscape will get painted on these.... Perfect for jewelry, loose change, trinkets, etc. One of my favorite surfaces to paint on.
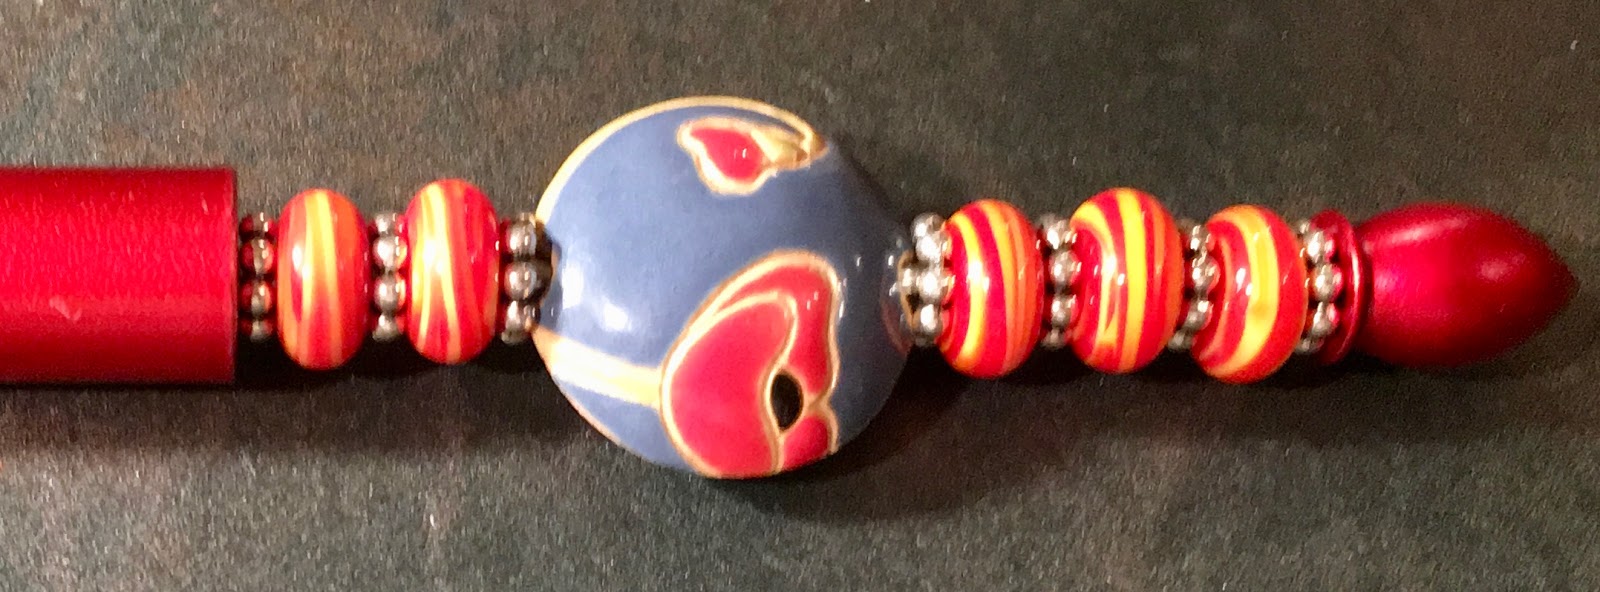
Lampwork Pens
These are 2 ink pens I have designed with handmade lamp work beads,,,,and the top one has a
ceramic handmade bead in the center. I love the little frog on the bottom one with butterfly lamp work beads on each side. The very top knob can be glued on or you have the ability to leave as is
(and check and tighten the knob as needed) if you want to change your beads. They are a bit on the heavy side ..... I wouldn't want to write pages with them but a notecard, checks, etc. would work great.... A neat, unique gift for the person who thinks they have "seen it all"....
POURING #2
This is a pour from this evening. The top Photo is the entire piece and the bottom is a close up of an area I really like the effect of.
I am finding that for me, it is best to use less paint. I like the results/effects I get.
I DO NOT like these colors and have more mixed so I will layer in a different order. Maybe as it sets overnight colors will change...but I am liking how I am getting a black outline on the bigger colored cells.
I added the colors to my pour cup and then a few drops of silicone, next color, 3-4 drops of silicone and repeat layers of color/silicone.
I turned my cup in the corner area. then frosted around the cup with black/pour medium mix, pretty thin and this one I actually swiped with my spatula.
This is a 12" x 12" canvas panel.
Evil Eye Necklace
A friend gifted me with the focal bead. It is cool and smooth and reminded me of an "evil eye" to maybe protect me from evil but JUST IN CASE I added a Buddha head. The beads are a pale green
because the one inner circle of the eye is this same, pale, green color....so the choice was easy. The bead is black so I have used a black nylon cord knotted at the top and bottom of each handmade lamp work bead, a glue in bale by Tierra Cast and then several jump rings so I can change the length of the necklace with the clasp...and I wanted it a tad longer than the cording I cut.....but there is always a solution....well, usually. I really like the way it turned out....elegantly simple.
Pouring
Lately I have been obsessed with "pouring", This one really turned out to my liking and as a result others followed as I mixed up a lot of each of the colors...and I am glad I did. My favorite size canvas so far are those that are 12 x 12 .... seems like a pretty nice size .... especially since I am new
to this technique. It will help me to get a feel for things if they are all the same size. Judging paint, water, silicone, pouring medium to paint ratio, etc. I like the colors so much I am going to get a new bottle of each one. Kinda reminds me of hydrangeas for some reason......I guess the colors. Which makes me wonder how a dark green would be instead of the black. I am finally getting close to what I think I want to concentrate on. I want a technique that is a bit more playful than just turning the cup upside down and letting happen whatever happens.....takes all the fun out of the art form and doesn't allow the creativity I desire when I am "art-ing". This dried just as beautiful as it was shen it was wet and that was a success in itself. I like that I got big and small cells, a blending of colors the web -by look, the ability to draw the black thin crevice down through the painting... and the uniqueness of the abstract designs...... The photos below were done with the same colors. #1 and #3 are 5" x 7" canvas boards. Photo #2 below was a an upside down canvas in run off....and the last photo shows how beautiful the runoff itself is which is going to be a gorgeous Skin. It amazes me how different each piece is...depending on the "pour" itself...the ratio of colors used, and the way things run. There is definitely a learning curve. I going to get a couple of frames and see how these look framed...
Subscribe to:
Posts (Atom)
I LOVE FREEZIN' FOG DAYS
Freezing fog on a pine tree bough.